
Pin-Punching Shapes
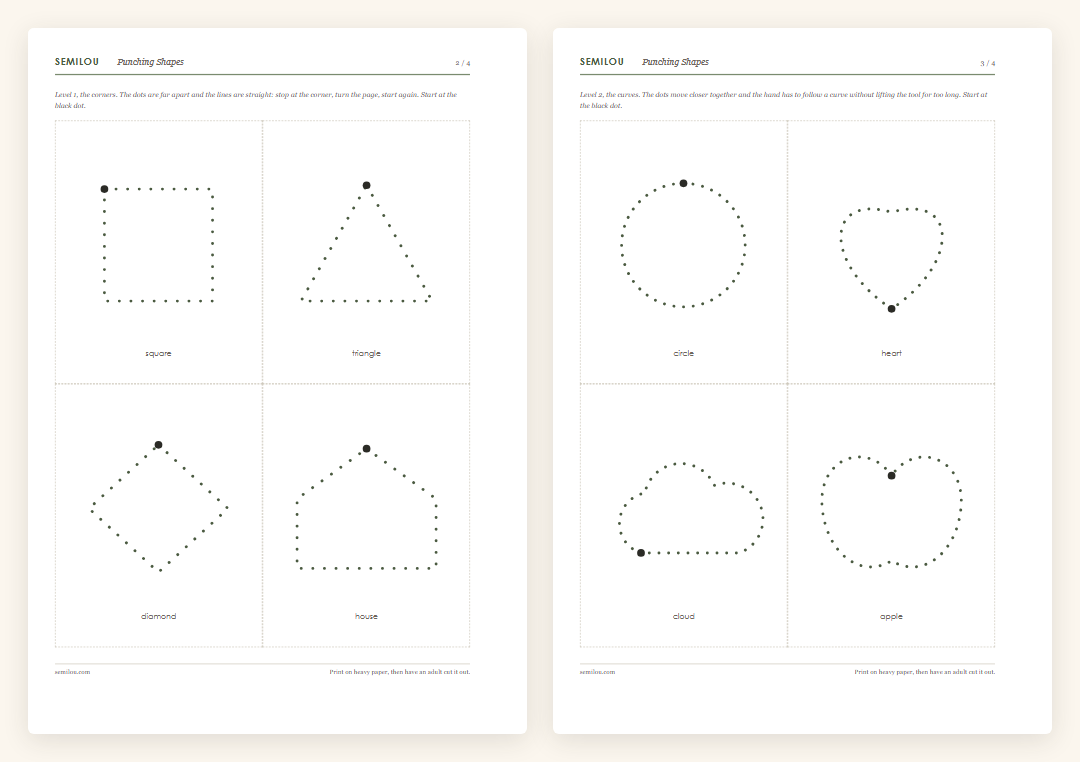
Twelve outlines made of dots: your child punches each dot with a pin tool, then frees the shape, with an adult's help if needed.
Included with an Age Group · $29
Choose your child's age
These printable materials are included when you buy an age group, in the purchased language. Complete PDFs are available only after purchase.
What's in the download
- Twelve named shapes: square, triangle, diamond, house, circle, heart, cloud, apple, star, leaf, fish, and flower.
- Three levels that isolate one difficulty at a time: corners, then curves, then points.
- A black starting dot on every shape, so your child knows where to punch first.
- One-piece outlines, several inches wide, to release with an adult's help if needed.
Why this material
Holding a pin tool is already holding a pencil: the fingers fall into a pincer grip on their own, and the wrist learns to rest in place. That's why pin-punching has been used in preschools for decades, long before a child is asked to trace a letter. And your child can see for themselves whether the holes follow the line: an adult can help free the shape at the end.
Activities that use it
Sewing Cards
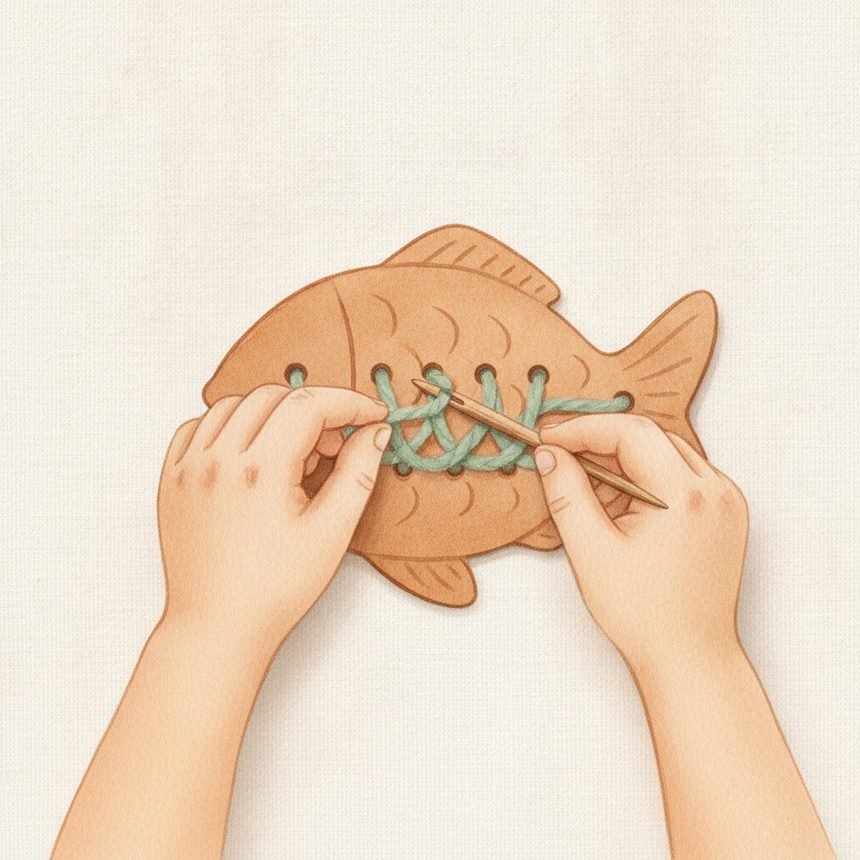
A round-tipped needle, yarn, a punched card: over, under, over, and the pride of having sewn.
Sticker Play
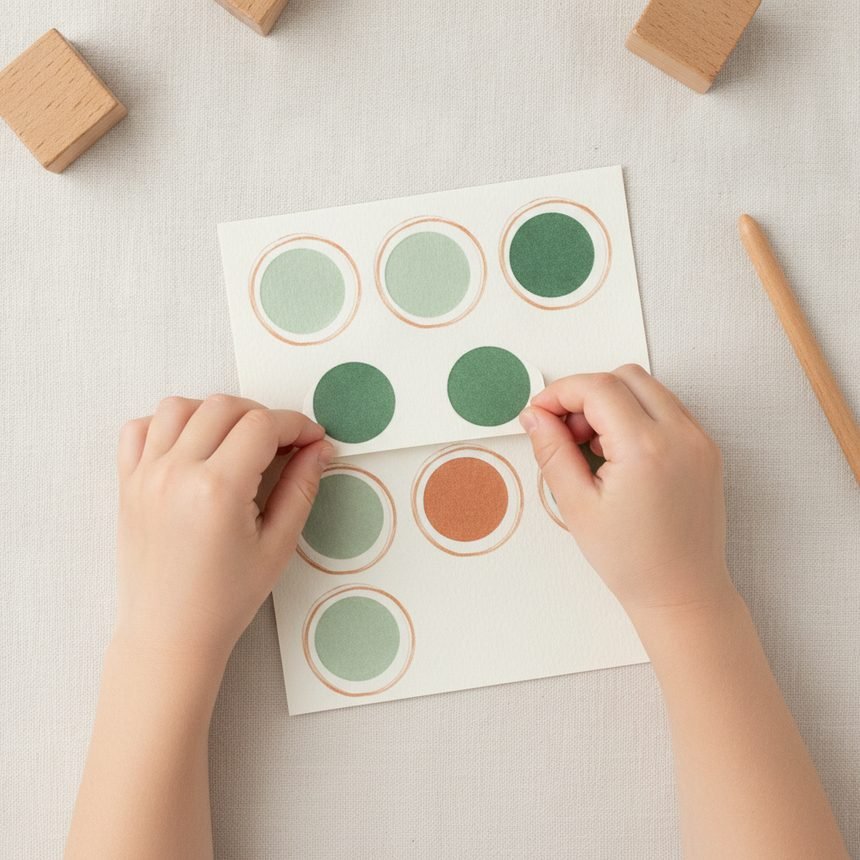
Peeling a sticker off with the tips of your fingers and sticking it on a drawn circle: the pincer grip takes shape.
Tracing Shapes with Stencils
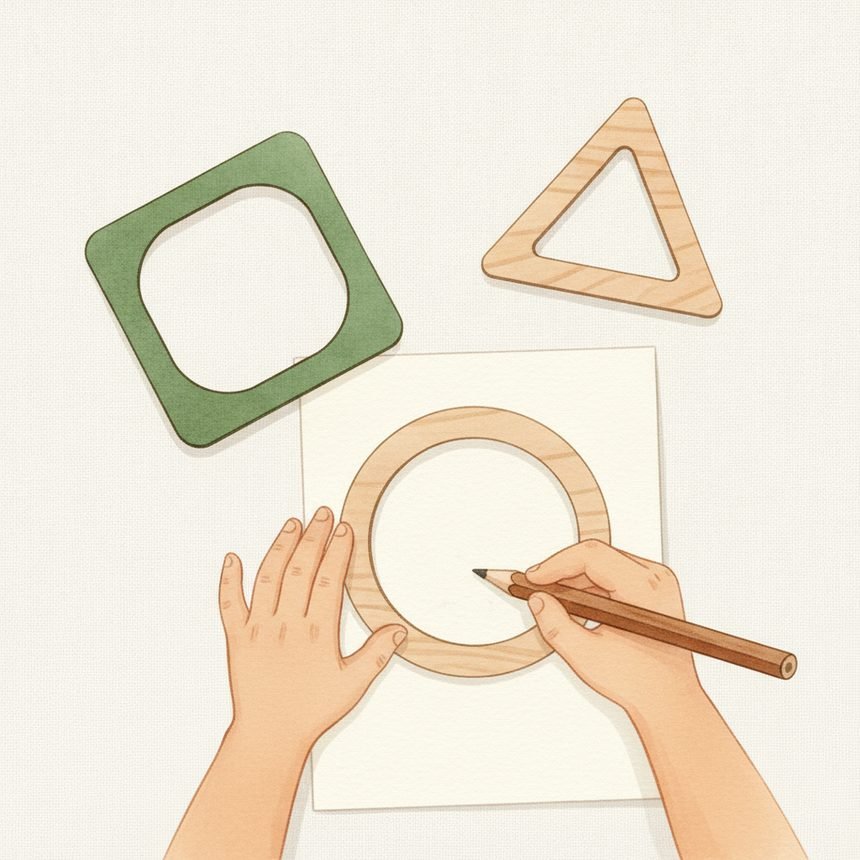
The crayon follows the edge of the shape: the hand learns where to stop.
Pin punching, answered
What is Montessori pin punching?
Pin punching, also called pin poking or pin pricking, is an activity where your child pokes through the dots of a printed outline, one at a time, with a pin tool, over a soft surface. When every dot is punched, your child frees the shape, with an adult's help if needed. Holding a pin tool calls for the same three-finger grip as a pencil, so the fingers settle into it on their own. Your child can see for themselves whether the holes follow the line.
How do you do pin punching with a child?
Place the sheet on a felt mat, a cork board, or thick cardboard. Your child chooses a shape, finds the black starting dot, and punches the dots one after the other, turning the paper instead of the hand. When the outline is finished, an adult helps release the shape if needed, and your child keeps it. It can then be glued, hung, or sewn, as in Sewing Cards, for ages 4 to 6. One shape per session is plenty.
What skills does pin punching build?
The pincer grip, finger strength, a steady wrist, hand-eye coordination, and the ability to stay with a long, repetitive task to the end. It prepares writing directly, since holding a pin tool puts the hand in the pencil position before your child traces anything. The three levels build it up: corners, then curves, then points. Sticker Play, from age 2, and Tracing Shapes with Stencils, for ages 3 to 4, work the same fingers.
What age is pin punching for, and where do I find the templates?
From about 3 years old for the first outlines with corners, up to 6 for the shapes with points. You need a pin tool with a handle, a soft base that absorbs the point, and an adult nearby: the pin is sharp and goes out of reach between sessions. The twelve templates come with the pack for the age bracket you buy, among the 7 printable PDFs, in the language of the pack; they print on card stock and aren't sold separately.